I HAVE NO IDEA WHAT HAPPENED YESTERDAY TO MY TUESDAY TUTE!! I somehow managed to NOT publish it???
This Week, I am bringing you my cute Spring wreath! I have never been a big fan of silk flowers or silk flower arrangements...but, lately I have found some very economical and pretty artificial flowers!
I started off with some simple supplies!
*14" Straw wreath form
*20" of Burlap (You don't need anything fancy or higher quality-good ole craft burlap will be best)
*1 Spring flower bunch (at least 5 flowers on it)
*1 (or more) Spring picks I used some of my leftover pieces from the bunny basket to fill in here....
*Glue gun
*Scissors

(DO NOT know why this won't sit properly!)

14" Straw wreath
Start with your wreath...remove the plastic WITHOUT cutting the clear nylon string that holds the straw in place! THIS will create a huge mess in your house! hehe...
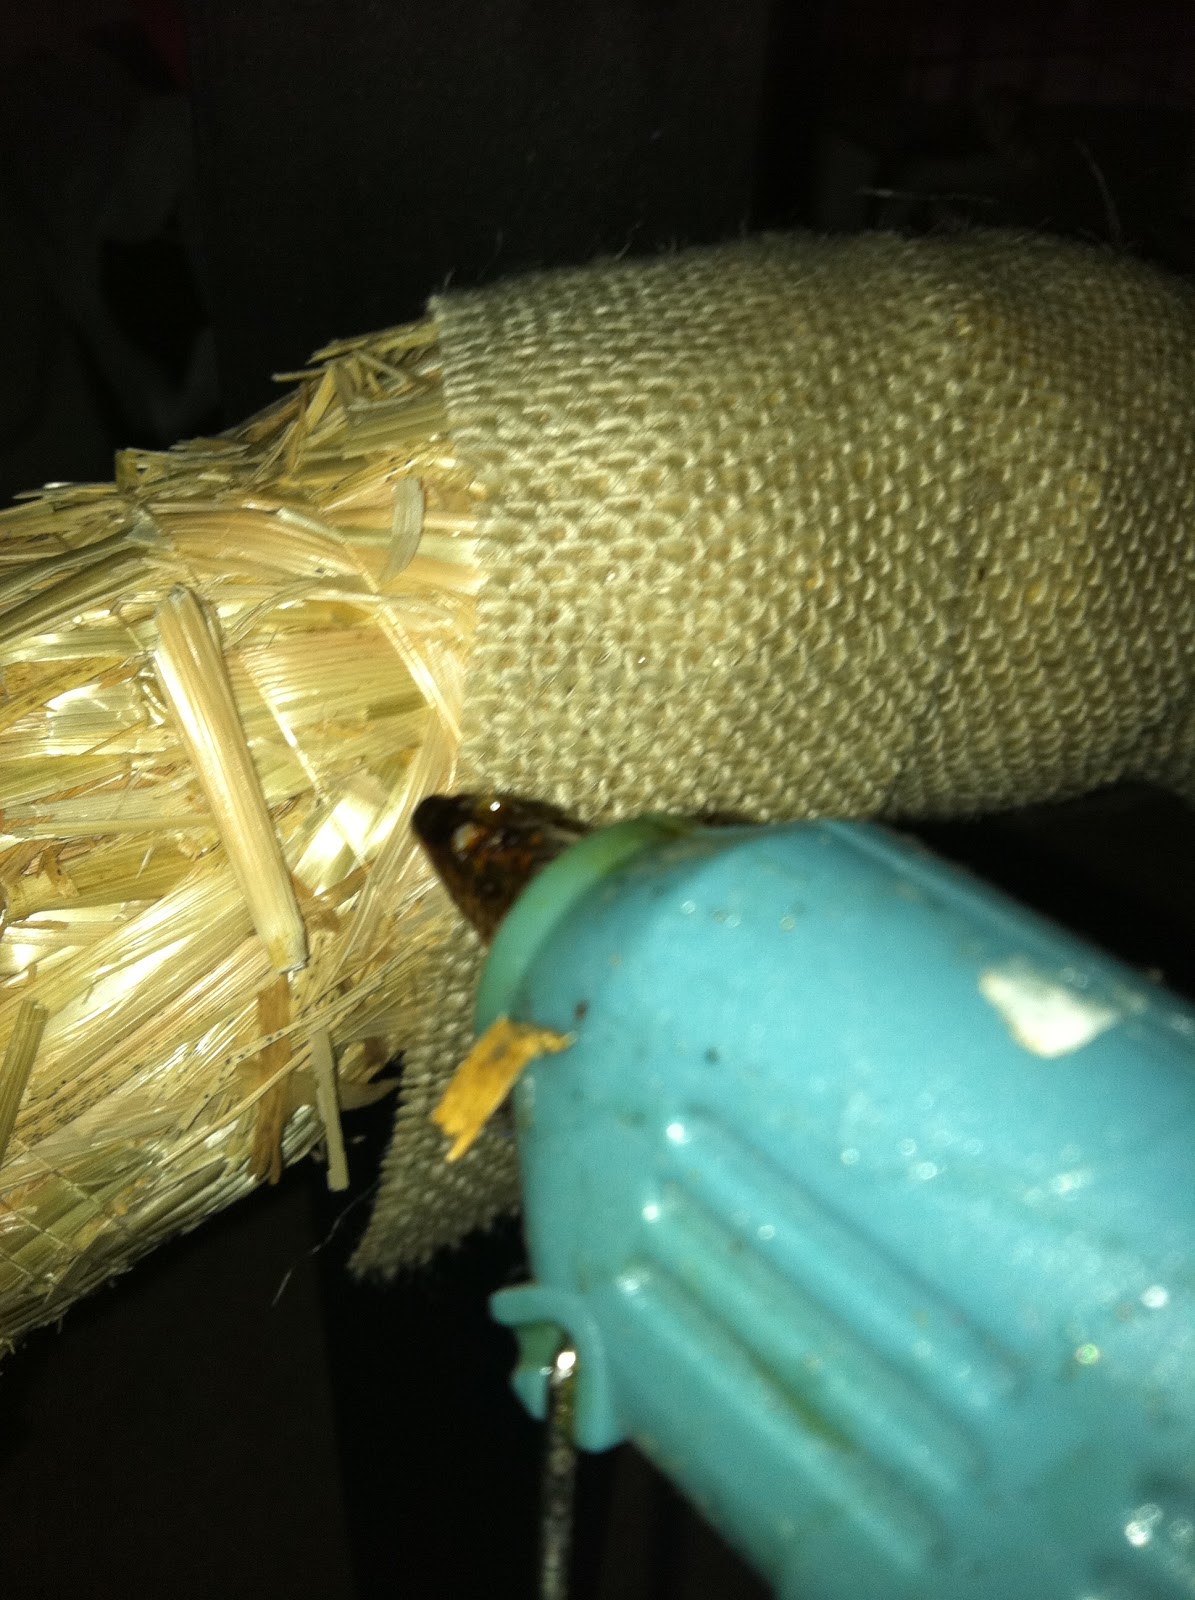
NOW: lay your burlap out and cut it into 2" strips. You should end up with 10 strips.


Attach your burlap with a hot glue gun. Wrap the entire wreath. You should have 1 strip left...you will use this for your hanger.
Now, Pop the heads off your flowers. Your going to glue them to your wreath in whatever pattern you choose! Either at the top, the bottom, or off to one side. (this seems to be my go-to placement)


I realized when I was editing the pictures that this little string of burlap was hanging down in ALL of my shots! lol...
Super SIMPLE project! Fail proof! Have fun!!


What do you think about this article?